Lập trình Raspberry Pi, Thủ thuật Raspberry Pi
Máy scan tài liệu bằng Raspberry Pi và Camera
Bạn có một chiếc Raspberry Pi và camera module? Hãy biến chúng thành một chiếc máy scan tài liệu mini có giao diện trực quan, khả năng crop viền tự động, và xem trước ảnh trước khi lưu mà không cần phần cứng phức tạp. Máy scan tài liệu này cho phép xem trước hình ảnh trực tiếp từ camera, giúp căn khung dễ dàng. Chỉ với một nút bấm, bạn có thể chụp tài liệu, ảnh sẽ được xử lý bằng OpenCV để tự động cắt viền và hiển thị rõ nét. Người dùng có thể xem lại ảnh ngay trên giao diện và ảnh được lưu dưới dạng JPG với tên file kèm thời gian, tiện cho việc sắp xếp và tra cứu.
Linh kiện sử dụng
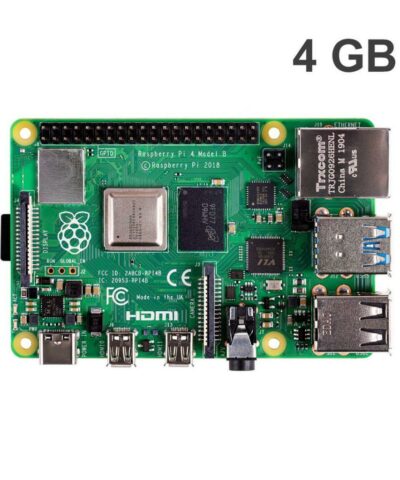

Raspberry Pi
Phụ kiện Raspberry Pi 4
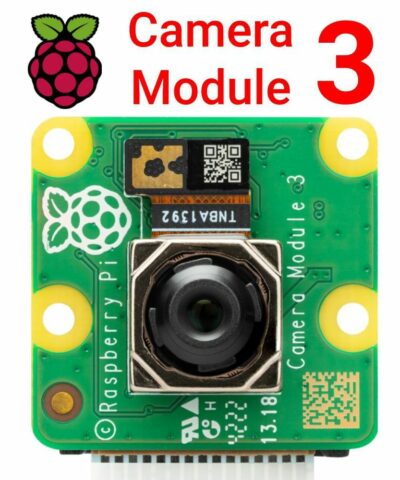

Camera Raspberry Pi
Raspberry Pi Camera Module V3 – 12MP – Ống kính Lấy nét Tự động


Ngoài ra, bạn có thể chuẩn bị thêm màn hình, bàn phím và chuột để sử dụng Pi hoặc là sử dụng Pi trên laptop cá nhân thông qua VNC Viewer.
Giao diện người dùng
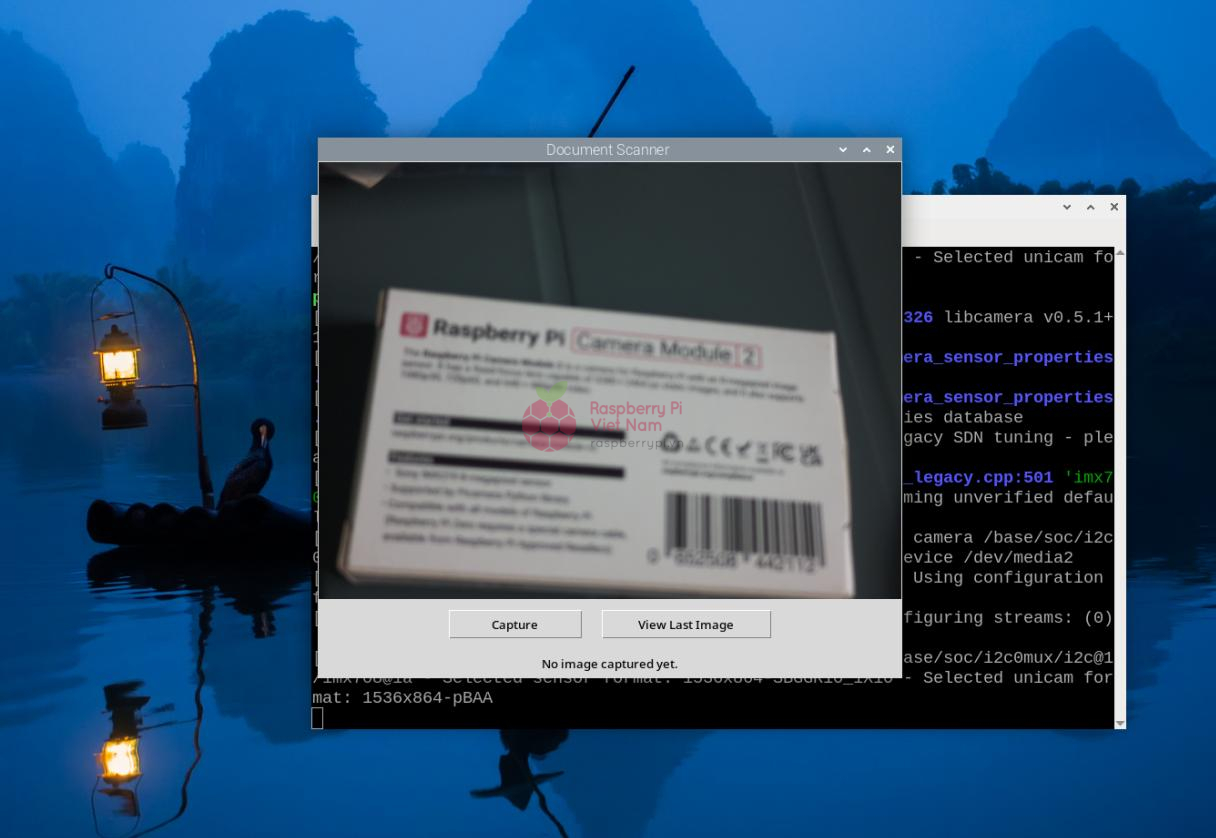
Giao diện người dùng khá là đơn giản với hai nút ấn là “Capture” để chụp ảnh và “View Last Image” để xem ảnh mới chụp gần đây nhất.
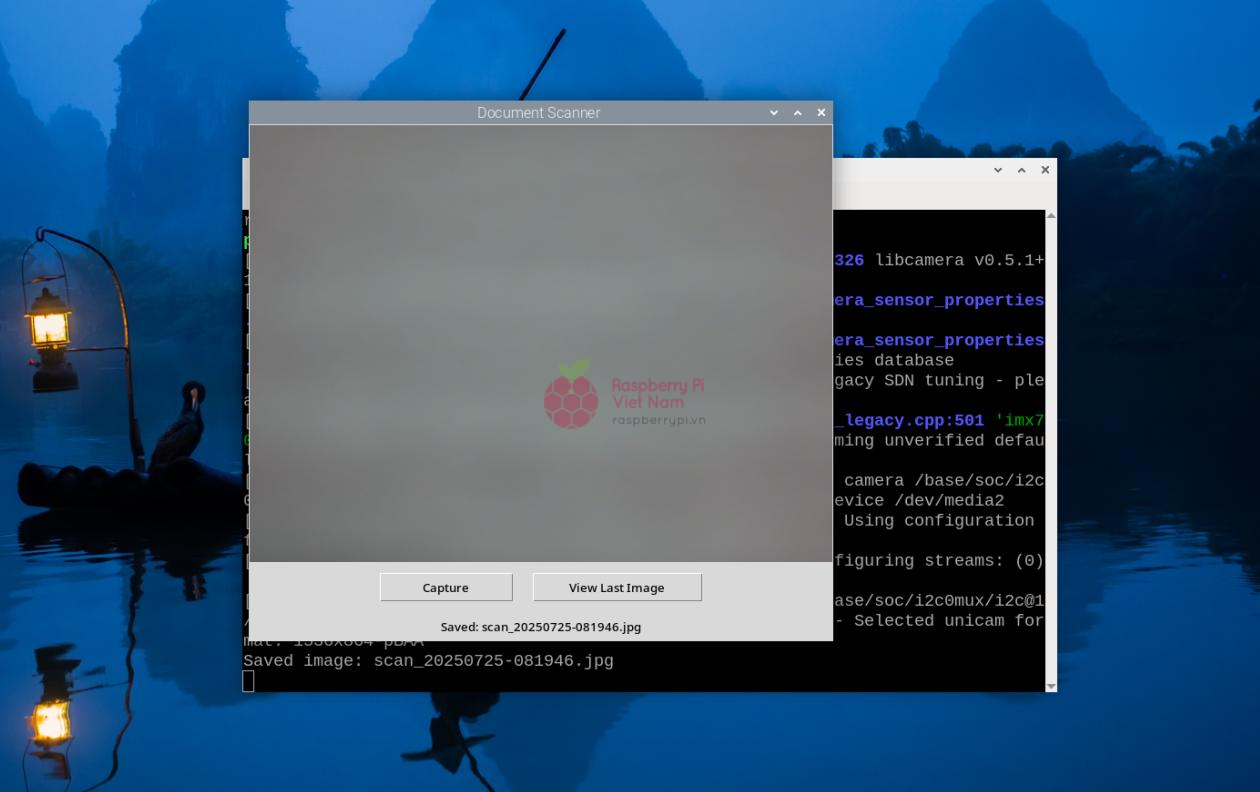
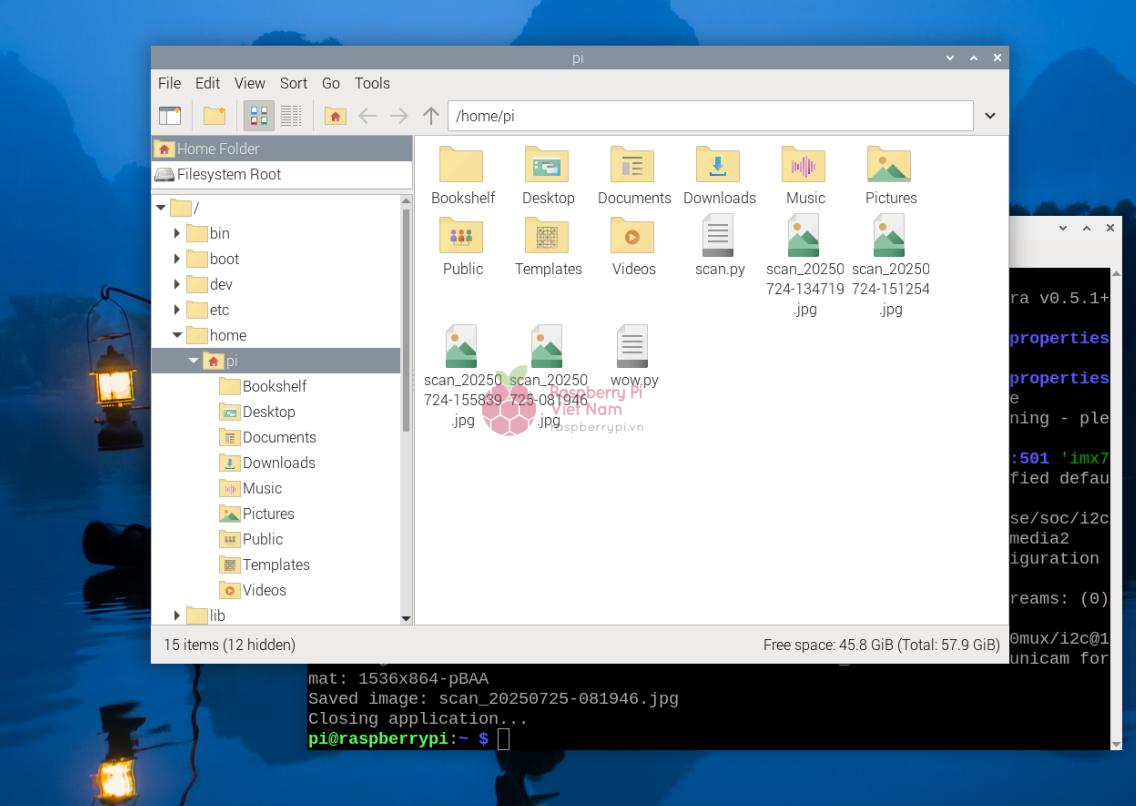
Hình ảnh sau khi chụp sẽ được lưu vào Raspberry Pi

Viết chương trình
Đầu tiên, bạn cần cài đặt đủ thư viện để chạy chương trình:
sudo apt update
sudo apt install python3-picamera2 python3-opencv python3-pil -y
Mã Python:
import tkinter as tk
from tkinter import Label, Button
from PIL import Image, ImageTk
import cv2
import time
import numpy as np
import threading
from picamera2 import Picamera2


# ====== Function to auto-crop paper edges from the image ======
def auto_crop_document(image):
    gray = cv2.cvtColor(image, cv2.COLOR_BGR2GRAY)
    blur = cv2.GaussianBlur(gray, (5, 5), 0)
    edged = cv2.Canny(blur, 75, 200)

    # Find contours
    contours, _ = cv2.findContours(edged, cv2.RETR_EXTERNAL, cv2.CHAIN_APPROX_SIMPLE)
    contours = sorted(contours, key=cv2.contourArea, reverse=True)

    # Try to find the largest rectangular contour (assumed to be the paper)
    for c in contours:
        approx = cv2.approxPolyDP(c, 0.02 * cv2.arcLength(c, True), True)
        if len(approx) == 4:
            pts = approx.reshape(4, 2)
            rect = order_points(pts)
            return four_point_transform(image, rect)

    return image  # If not found, return original image


# Order points in consistent top-left, top-right, bottom-right, bottom-left
def order_points(pts):
    rect = np.zeros((4, 2), dtype="float32")
    s = pts.sum(axis=1)
    rect[0], rect[2] = pts[np.argmin(s)], pts[np.argmax(s)]
    diff = np.diff(pts, axis=1)
    rect[1], rect[3] = pts[np.argmin(diff)], pts[np.argmax(diff)]
    return rect


# Warp perspective to get top-down scanned version
def four_point_transform(image, pts):
    (tl, tr, br, bl) = pts
    width = int(max(np.linalg.norm(br - bl), np.linalg.norm(tr - tl)))
    height = int(max(np.linalg.norm(tr - br), np.linalg.norm(tl - bl)))
    dst = np.array([[0, 0], [width - 1, 0],
                    [width - 1, height - 1], [0, height - 1]], dtype="float32")
    M = cv2.getPerspectiveTransform(pts, dst)
    return cv2.warpPerspective(image, M, (width, height))


# ====== GUI Class ======
class DocumentScannerApp:
    def __init__(self, root):
        self.root = root
        self.root.title("Document Scanner")
        self.last_image_path = None

        # Live preview label
        self.label = Label(root)
        self.label.pack()

        # Buttons for capture and view
        btn_frame = tk.Frame(root)
        btn_frame.pack(pady=10)

        self.capture_btn = Button(btn_frame, text="Capture", command=self.capture_image_thread, width=15)
        self.capture_btn.grid(row=0, column=0, padx=10)

        self.show_btn = Button(btn_frame, text="View Last Image", command=self.show_image_thread, width=20)
        self.show_btn.grid(row=0, column=1, padx=10)

        # Status label
        self.status_label = Label(root, text="No image captured yet.")
        self.status_label.pack(pady=5)

        # Initialize camera
        self.picam2 = Picamera2()
        self.picam2.preview_configuration.main.size = (640, 480)
        self.picam2.preview_configuration.main.format = "RGB888"
        self.picam2.configure("preview")
        self.picam2.start()

        # Start live updating the preview
        self.update_preview()

        # Handle window close
        self.root.protocol("WM_DELETE_WINDOW", self.on_close)

    # Continuously update camera preview
    def update_preview(self):
        try:
            frame = self.picam2.capture_array()
            rgb = cv2.cvtColor(frame, cv2.COLOR_BGR2RGB)
            img = Image.fromarray(rgb)
            imgtk = ImageTk.PhotoImage(image=img)
            self.label.imgtk = imgtk
            self.label.configure(image=imgtk)
        except:
            pass
        self.root.after(30, self.update_preview)

    # Start image capture in a separate thread
    def capture_image_thread(self):
        threading.Thread(target=self.capture_image).start()

    # Capture, crop and save image
    def capture_image(self):
        frame = self.picam2.capture_array()
        cropped = auto_crop_document(frame)
        timestamp = time.strftime("%Y%m%d-%H%M%S")
        path = f"scan_{timestamp}.jpg"
        cv2.imwrite(path, cropped)
        self.last_image_path = path
        self.status_label.config(text=f"Saved: {path}")
        print(f"Saved image: {path}")

    # Start viewing image in a separate thread
    def show_image_thread(self):
        threading.Thread(target=self.show_last_image).start()

    # Open window to display the last captured image
    def show_last_image(self):
        if self.last_image_path:
            img = cv2.imread(self.last_image_path)
            if img is not None:
                rgb = cv2.cvtColor(img, cv2.COLOR_BGR2RGB)
                img_pil = Image.fromarray(rgb)
                imgtk = ImageTk.PhotoImage(image=img_pil)

                top = tk.Toplevel(self.root)
                top.title("Captured Image")
                lbl = Label(top, image=imgtk)
                lbl.image = imgtk  # keep reference
                lbl.pack()
            else:
                print("Could not read image.")
        else:
            print("No image captured yet.")

    # Clean up camera and exit
    def on_close(self):
        print("Closing application...")
        self.picam2.stop()
        self.root.destroy()

# ====== Run the app ======
if __name__ == "__main__":
    root = tk.Tk()
    app = DocumentScannerApp(root)
    root.mainloop()
Kết luận
Chỉ với một chiếc Raspberry Pi và camera module, bạn đã có thể tạo ra một máy scan tài liệu nhỏ gọn, tiện dụng và thông minh. Dự án này không chỉ giúp bạn số hóa tài liệu nhanh chóng mà còn mở ra nhiều tiềm năng ứng dụng khác trong giáo dục, văn phòng hay cá nhân.