Lập trình Raspberry Pi, Thủ thuật Raspberry Pi
Xây dựng hệ thống nhận diện biển số xe với Raspberry Pi
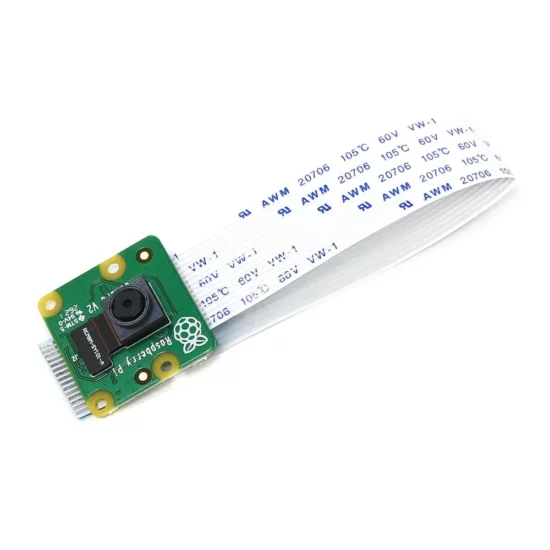
Trong thời đại số hóa hiện nay, việc tự động hóa các tác vụ như giám sát phương tiện và nhận diện biển số xe đang trở nên phổ biến hơn bao giờ hết. Thay vì đầu tư vào các hệ thống đắt tiền, bạn hoàn toàn có thể xây dựng một giải pháp nhận diện biển số xe đơn giản và tiết kiệm chỉ với một Raspberry Pi 4 và Camera Module 2.
Linh kiện sử dụng trong bài
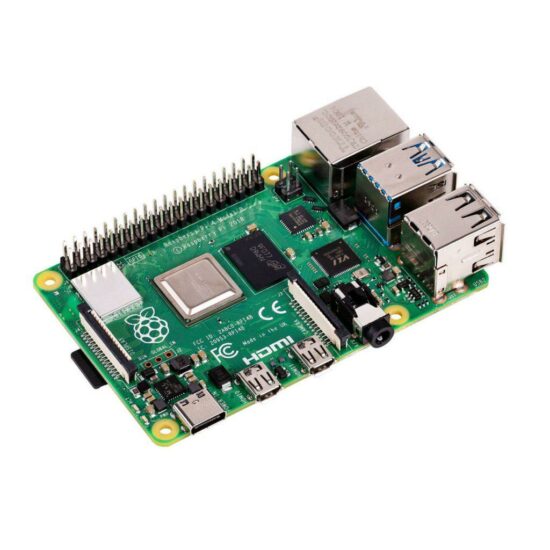
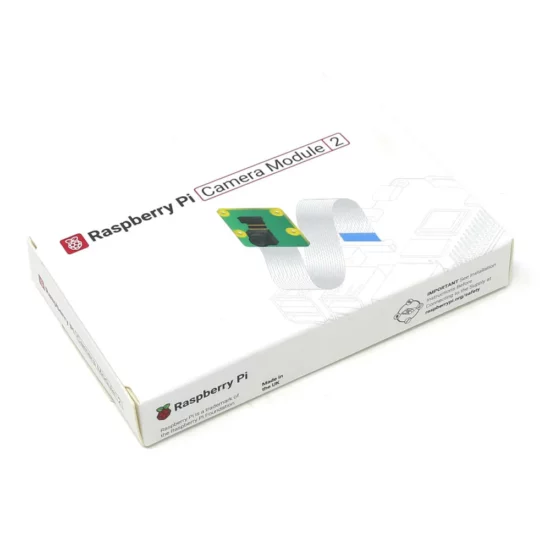
Raspberry Pi
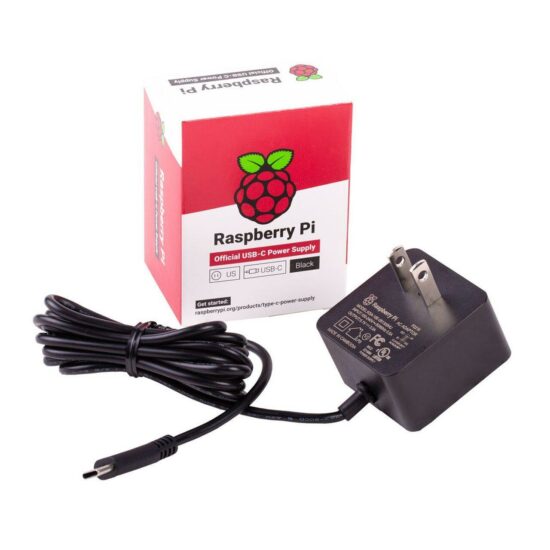
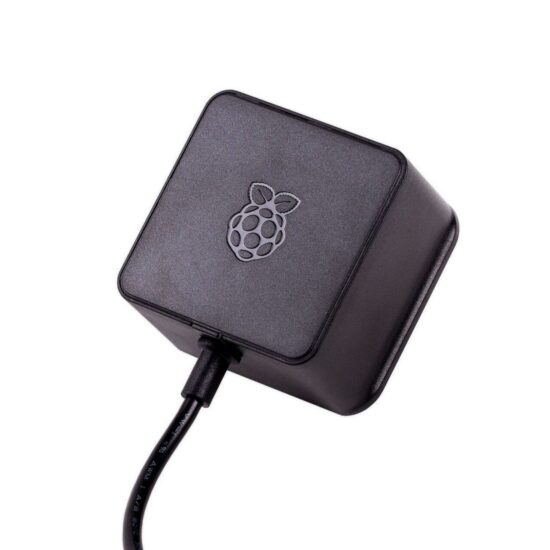
Nguồn Raspberry Pi 4 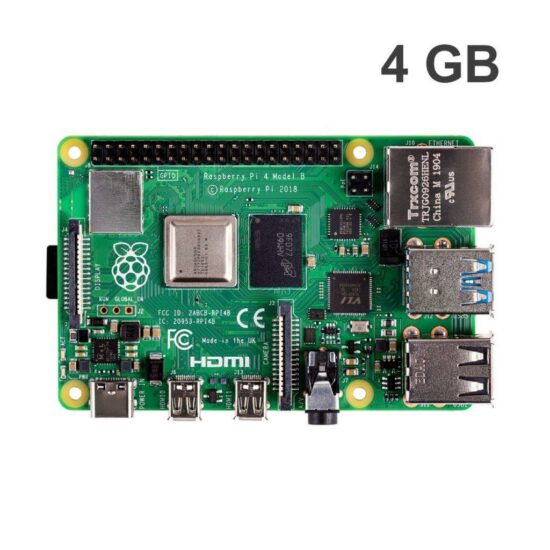

Ngoài ra các bạn có thể chuẩn bị thêm màn hình, bàn phím và chuột để sử dụng Raspberry Pi hoặc điều khiển và VNC Viewer.
Viết chương trình nhận diện biển số xe
Cập nhật hệ thống và cài đặt các thư viện cần thiết:
sudo apt update && sudo apt upgrade -y

sudo apt install python3-opencv python3-pip -y
pip3 install numpy pytesseract sudo apt install tesseract-ocr -y

sudo apt install libcamera-apps -y
sudo apt install python3-libcamera python3-picamera2 -y
Nếu pip3 install gặp lỗi, bạn có thể tạo môi trường ảo để cài đặt dễ dàng hơn:
sudo apt update
sudo apt install python3-venv -y

python3 -m venv venv

# Kich hoat moi truong ao
source venv/bin/activate

# Cai dat thu vien can thiet
pip install numpy pytesseract
Mã lập trình python để viết chương trình
import cv2
import pytesseract
import numpy as np
import os
from datetime import datetime
from picamera2 import Picamera2
from time import sleep

os.makedirs("plates", exist_ok=True)

picam2 = Picamera2()
picam2.configure(picam2.create_still_configuration())
picam2.start()
sleep(2)

image = picam2.capture_array()
timestamp = datetime.now().strftime("%Y%m%d_%H%M%S")
image_path = f"plates/{timestamp}.jpg"
cv2.imwrite(image_path, image)
print(f"Anh da luu: {image_path}")

image = cv2.resize(image, (640, 480))
gray = cv2.cvtColor(image, cv2.COLOR_BGR2GRAY)
blurred = cv2.bilateralFilter(gray, 11, 17, 17)
edged = cv2.Canny(blurred, 30, 200)

contours, _ = cv2.findContours(edged.copy(), cv2.RETR_TREE, cv2.CHAIN_APPROX_SIMPLE)
contours = sorted(contours, key=cv2.contourArea, reverse=True)[:10]

plate_contour = None
for c in contours:
    peri = cv2.arcLength(c, True)
    approx = cv2.approxPolyDP(c, 0.018 * peri, True)
    if len(approx) == 4:
        plate_contour = approx
        break

if plate_contour is not None:
    mask = np.zeros(gray.shape, np.uint8)
    new_image = cv2.drawContours(mask, [plate_contour], 0, 255, -1)
    new_image = cv2.bitwise_and(image, image, mask=mask)

    x, y = np.where(mask == 255)
    topx, topy = np.min(x), np.min(y)
    bottomx, bottomy = np.max(x), np.max(y)
    cropped = gray[topx:bottomx + 1, topy:bottomy + 1]

    # OCR
    thresh = cv2.threshold(cropped, 0, 255, cv2.THRESH_BINARY + cv2.THRESH_OTSU)[1]
    text = pytesseract.image_to_string(thresh, config='--psm 8 -c tessedit_char_whitelist=ABCDEFGHIJKLMNOPQRSTUVWXYZ0123456789')

    print("Bien so doc duoc:", text.strip())

    # Hien thi
    cv2.imshow("Cropped Plate", cropped)
    cv2.waitKey(0)
    cv2.destroyAllWindows()

    cv2.imshow("OCR Input", thresh)
    cv2.waitKey(0)
    cv2.destroyAllWindows()
else:
    print("Khong tim thay khung bien so")
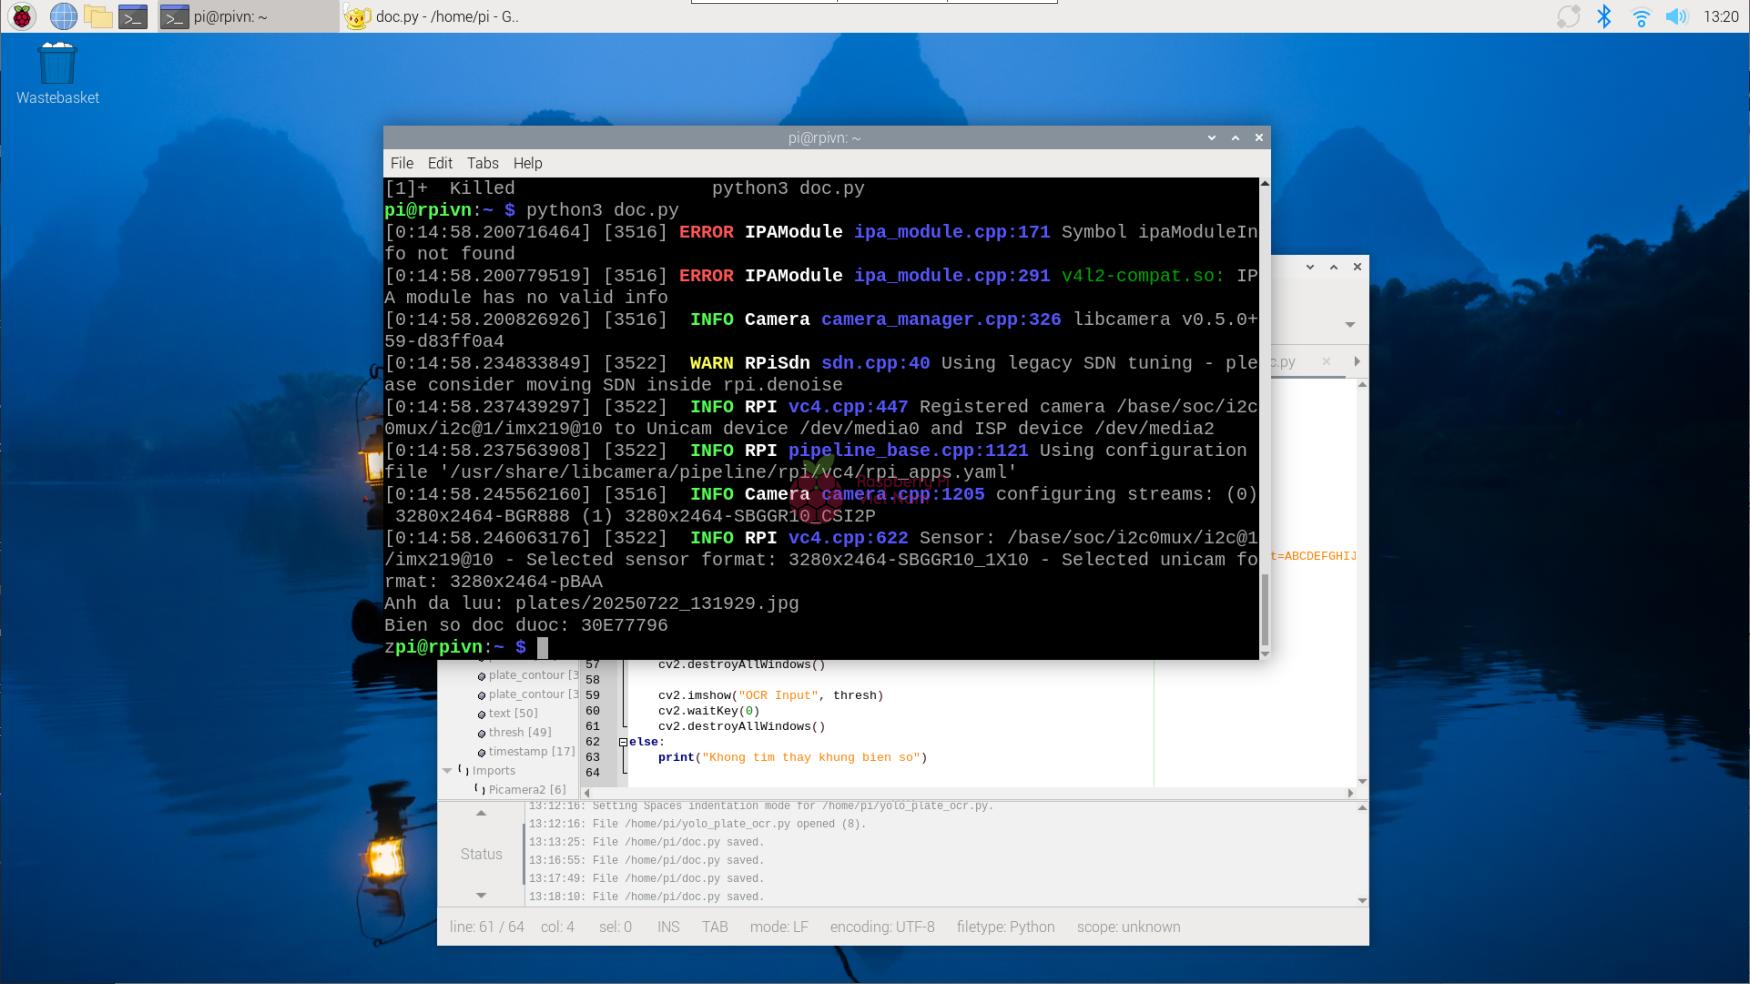
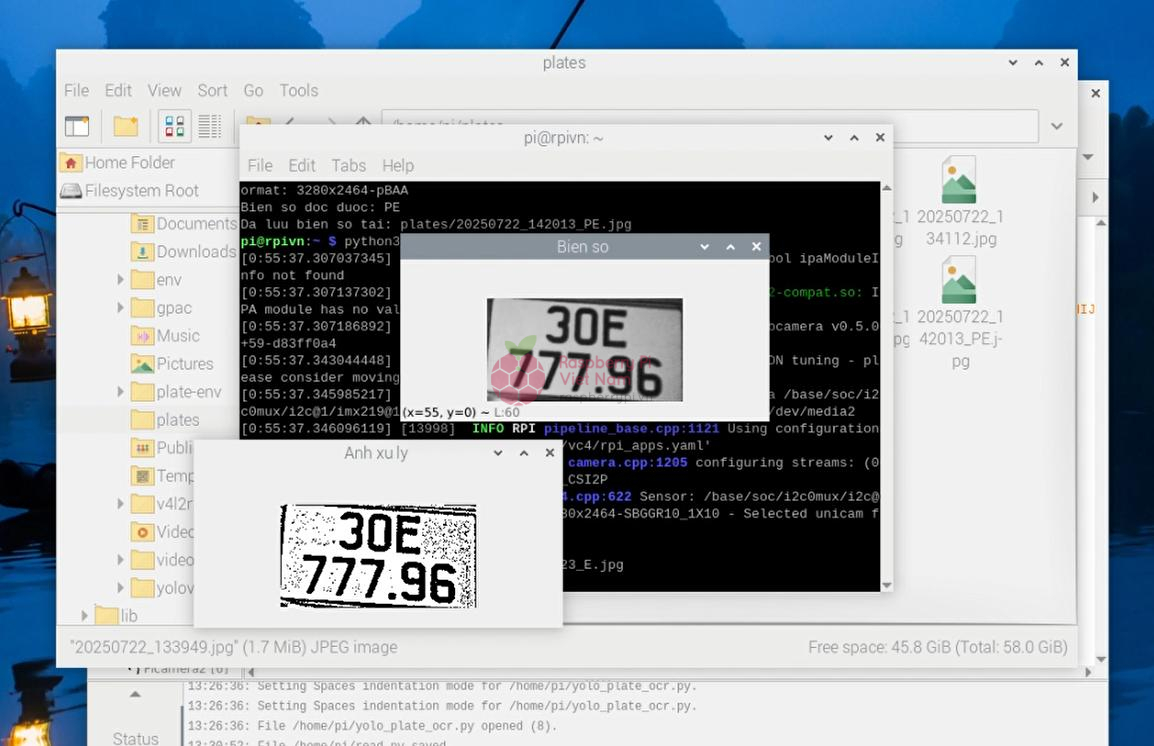
Sau khi chạy chương trình, trên màn hình terminal sẽ hiển thị biển số xe như hình dưới. Ảnh chụp của biển số xe cũng sẽ được lưu lại ở trong một file trên Raspberry Pi.
Kết luận
Với sự hỗ trợ của Raspberry Pi 4 và Camera Module 2, cùng các thư viện mã nguồn mở như OpenCV và Tesseract OCR, bạn hoàn toàn có thể tự xây dựng một hệ thống nhận diện biển số xe đơn giản, chi phí thấp nhưng hiệu quả. Dù chưa đạt được độ chính xác tuyệt đối như các hệ thống chuyên dụng, nhưng giải pháp này rất phù hợp cho các ứng dụng học tập, nghiên cứu hoặc triển khai trong những môi trường nhỏ như bãi giữ xe gia đình, khu dân cư hoặc dự án cá nhân.